Inspired by Kirstie’s Homemade Home and an increasing cynicism about the annual Christmas cycle of shopping-presents-landfill, I decided to get crafty and make my own Christmas presents this year.
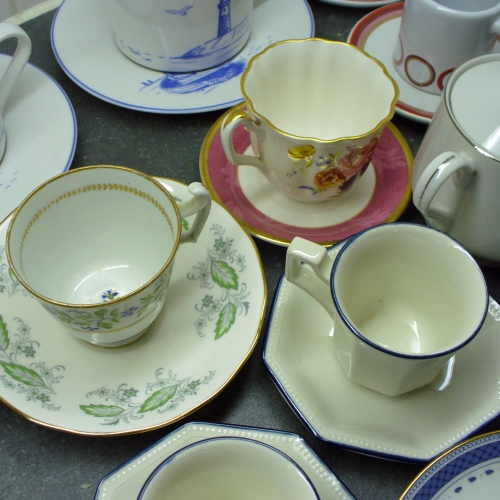
The first step was a lovely afternoon spent trawling charity shops for teacups, which left me with quite a selection…
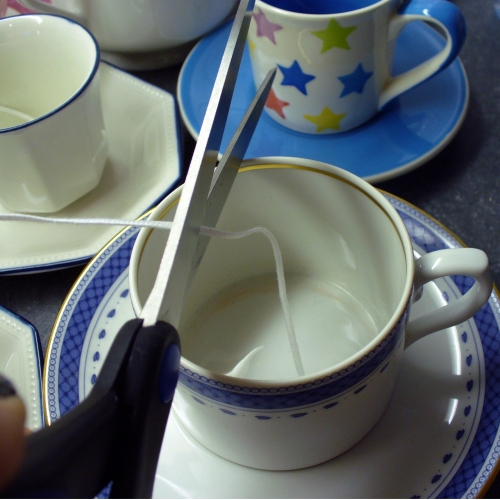
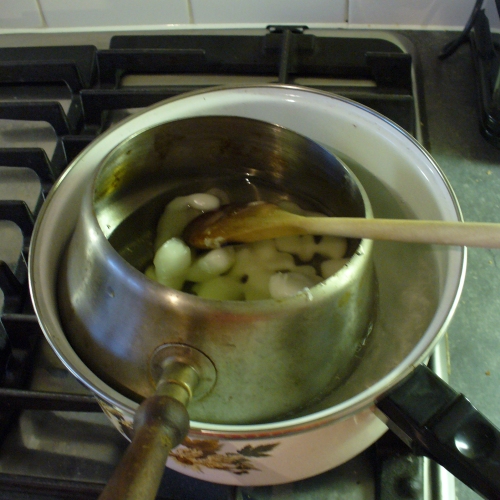
Next I ordered a candle-making kit from www.makingyourowncandles.co.uk which included everything I needed and detailed instructions; the first of which was to fill a saucepan to a third of its volume with water. Then I cut the wicks a couple of centimetres longer than each container was deep…
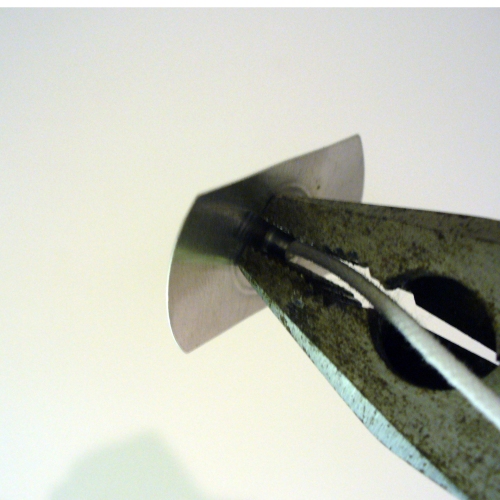
and threaded each wick through a wick tab, leaving about a millimetre showing underneath, and then pinched the collar of the wick tab with pair of pliers to hold the wick in place.
Next I cut the wax into small blocks and put them into a small saucepan floating in the larger saucepan, which was simmering gently – once melted the colour and fragrance were added.
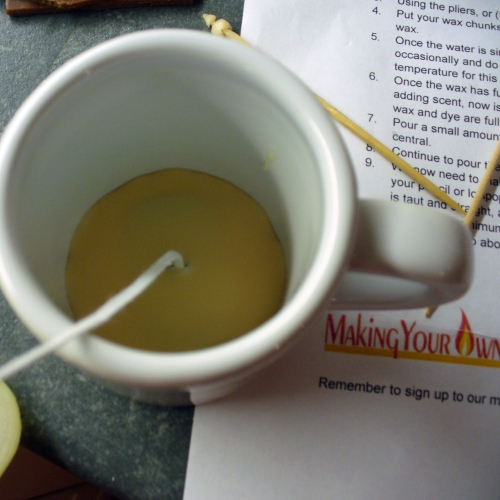
I poured a tiny amount of the melted wax into each cup, which I allowed to cool; holding the wick tab and wick in place at the centre of the bottom of the cup.
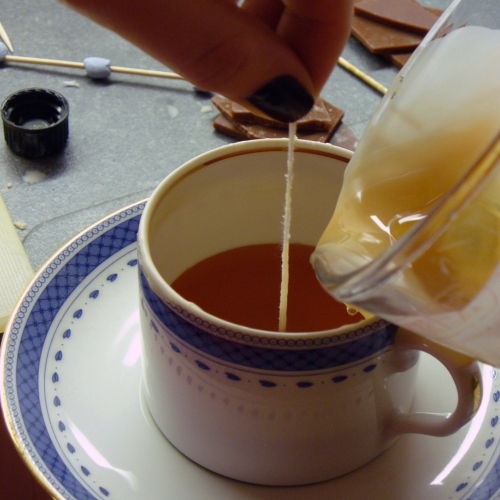
Then I poured the rest of the wax into the cup, taking care to keep the wick straight up through the centre of the candle, to ensure it will burn properly.
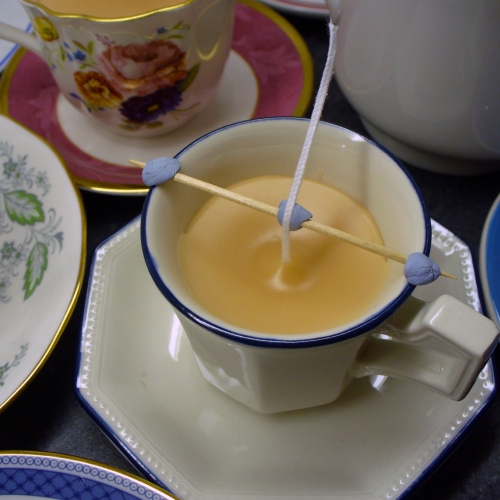
The next bit is quite fiddly, but it’s important to keep the wick in that position while the candle sets. I used cocktail sticks for the small cups and pencils for the larger cups and a little bit of Blu-Tack to attach the wick to the cocktail stick / pencil and the cocktail stick / pencil to the teacup.
Then I just left the wax to set for 12 hours and trimmed the wick to about 1cm above the level of the wax…
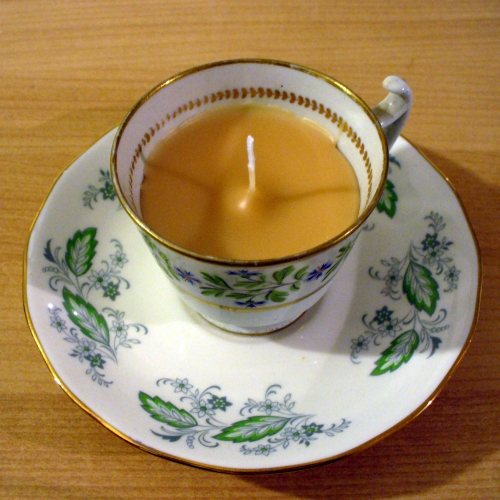
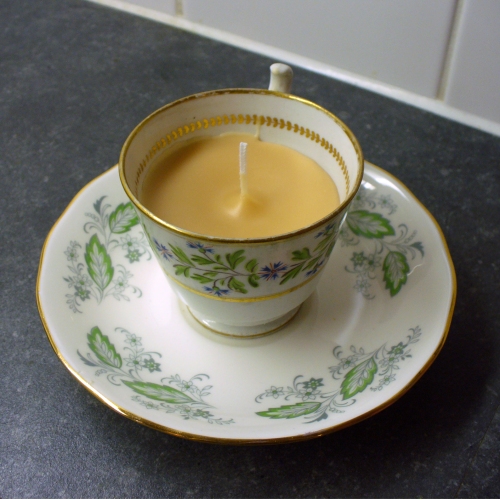
… et viola, a Christmas present made largely from things that might have ended up as landfill, turned into a gift that (hopefully!) won’t. Kirstie would be proud!
Further reading for the especially geeky:
- http://www.channel4.com/4homes/design-style/how-to-guides/how-to-make-candles-gallery-09-04-21_p_1.html (Kirstie’s Homemade Homes)
- http://www.themakelounge.com/workshops/detail/62 (Teacup candle making workshops at the Make Lounge)
- http://www.teacupcandles.co.uk/ (teacup candles)
- Crafty Reuse: Ten Ways to Repurpose an Altoids Tin (craftingagreenworld.com)



Wicked, you’ve got me all inspired, I shall have to give it a go. Thanks Katie x
oh, what a cool idea. Thank you for sending me the link 🙂
Nina
What a fantastic idea Katie – it looks like it was made by a professional. I’m so going to have a go at this. I will let you know how I get on!!!!
Love these! Stylish, funky and recyclable once the candle has been used up so environmentally sound as well. Perhaps you could also make the wax tea-coloured!
How cute this is ! I am certainly going to do this, excellent idea; my favourite past-times; craft AND visiting charity shops!!
I love your blog!! (Came to your great blog via Mydeco.)
I am new in blogland and just started my new blog, http://moderncountrylady.blogspot.com
Come and check it out if you have the time and let me know what you think.
I would not want to miss a fun blog like this for the world!
Thanks so much for all the lovely comments. I would definitely recommend giving it a go – it was a lot of fun!
(However I have realised since posting this, that all my friends and family now know what they’re getting for Christmas – ooops!)
Hey what a nice idea, I’ve seen some of these around but haven’t put two and two together and considered making them myself. Very cool and a great gift idea.
Oh, thank you! (Although credit for the idea must go to the lovely Kirstie Allsopp and her crafty Homemade Home pals!) They were really fun to make – highly recommended!